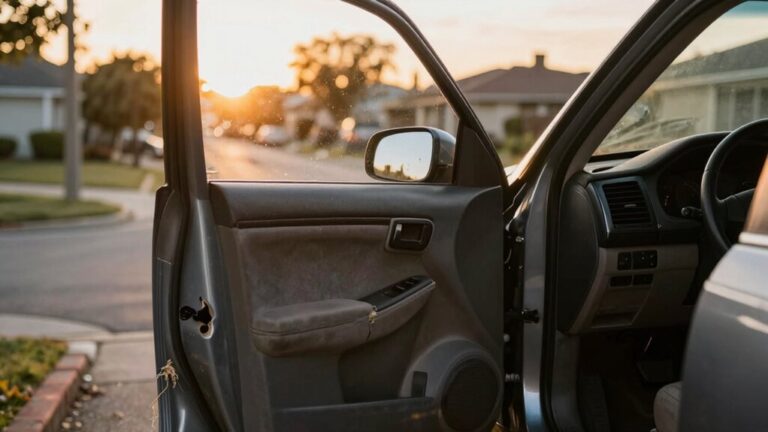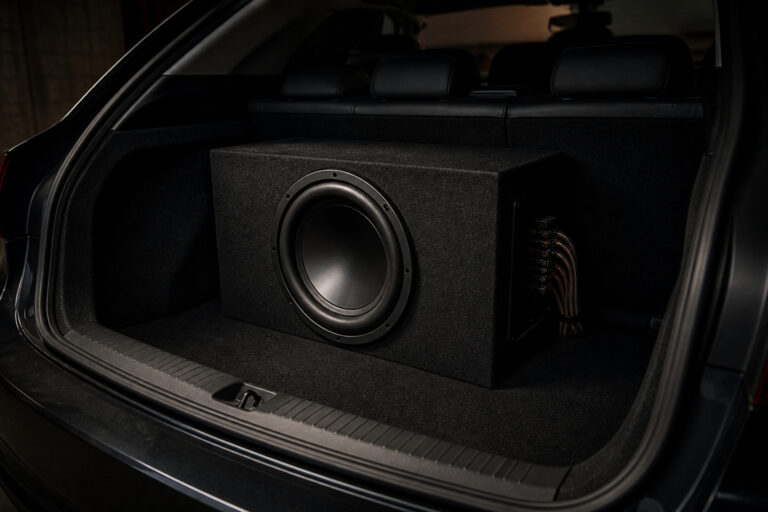
That hollow thump when you close a door, the rattle over bumps, the road noise that drowns out your music come from thin metal panels vibrating and air gaps that carry sound straight into the cabin.
A few hours with the right materials fixes most of it, and it’s one of the more satisfying DIY car audio upgrades since the difference is immediately obvious.
Removing the Door Panel
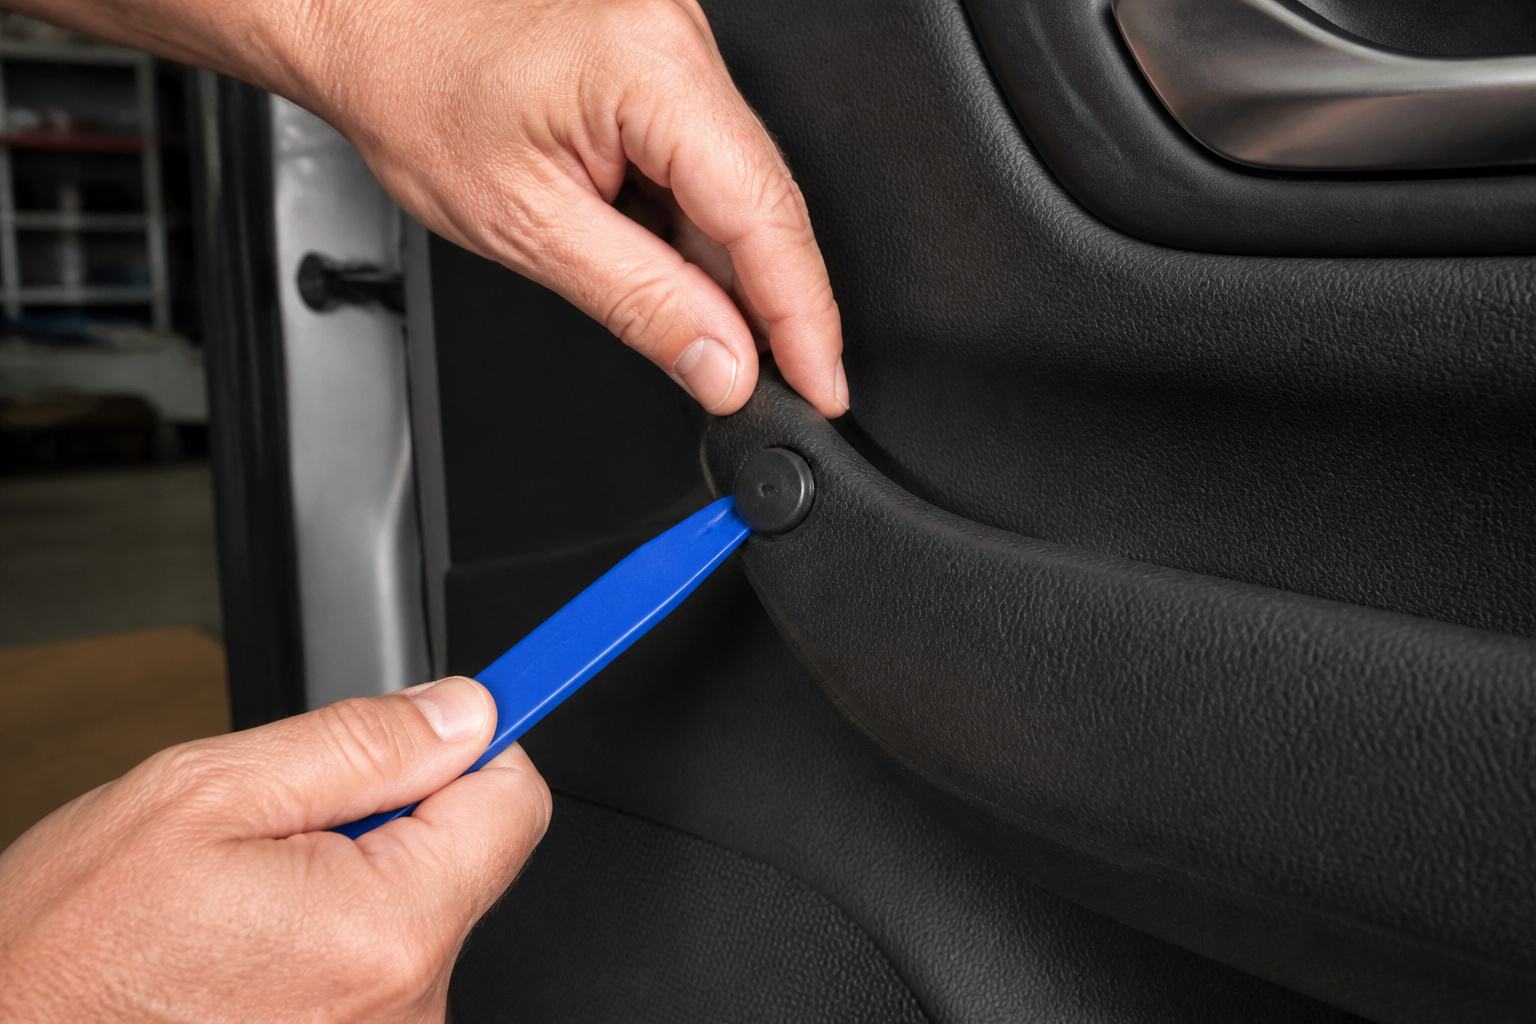
Start by removing the door panel: unclip the screws, pop off the armrest, and gently pry the plastic retainers loose. Work carefully and set the clips aside, since they’re easy to snap and can be a pain to replace.
Once the panel’s off, you’ll see the bare metal door skin and a lot of open space, exactly where the vibration and noise live.
Recommended Products

Non-Scratch Pry Tools: Made from durable nylon, this auto trim removal tool kit protects your car’s surfaces from scratches while offering strong leverage for trims, panels, and dashboards

5 Pack Trim Tools Kit : There are 5 pcs different kinds of trim tools, including 4 pcs car door panel removal tool and 1 pcs fastener remover

19 Pcs Trim removal tools - Works great for car audio/radio system installing or removing, door panel, moldings, emblems, window trims or automotive interior repairing and furniture restoration
Applying Sound Deadening Material
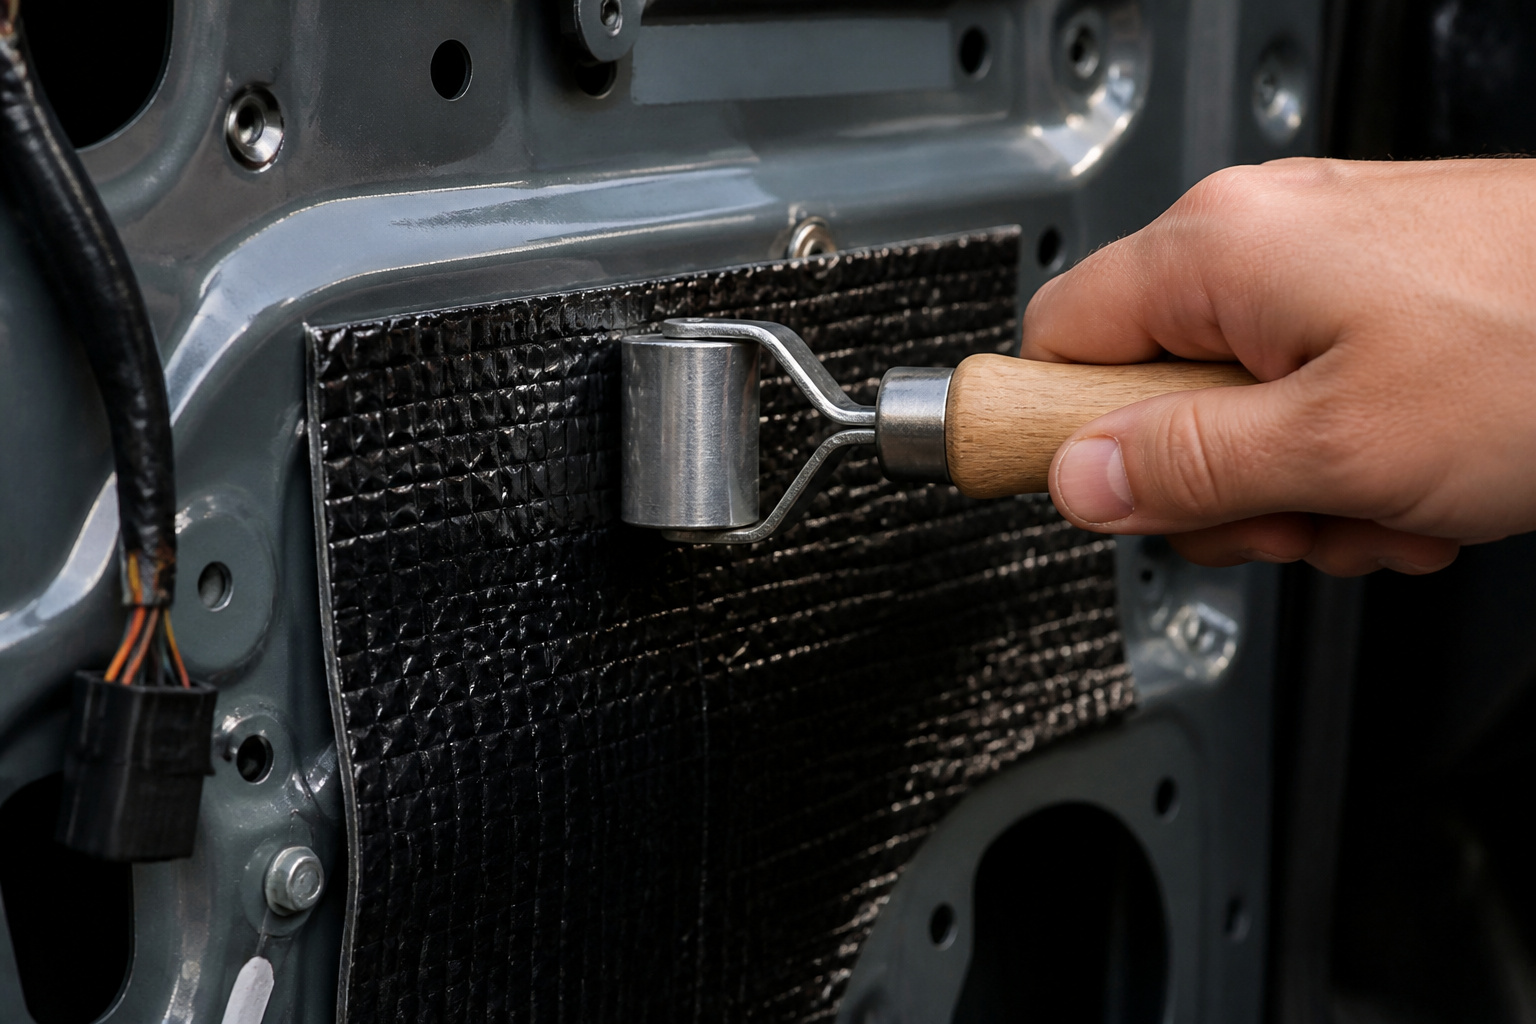
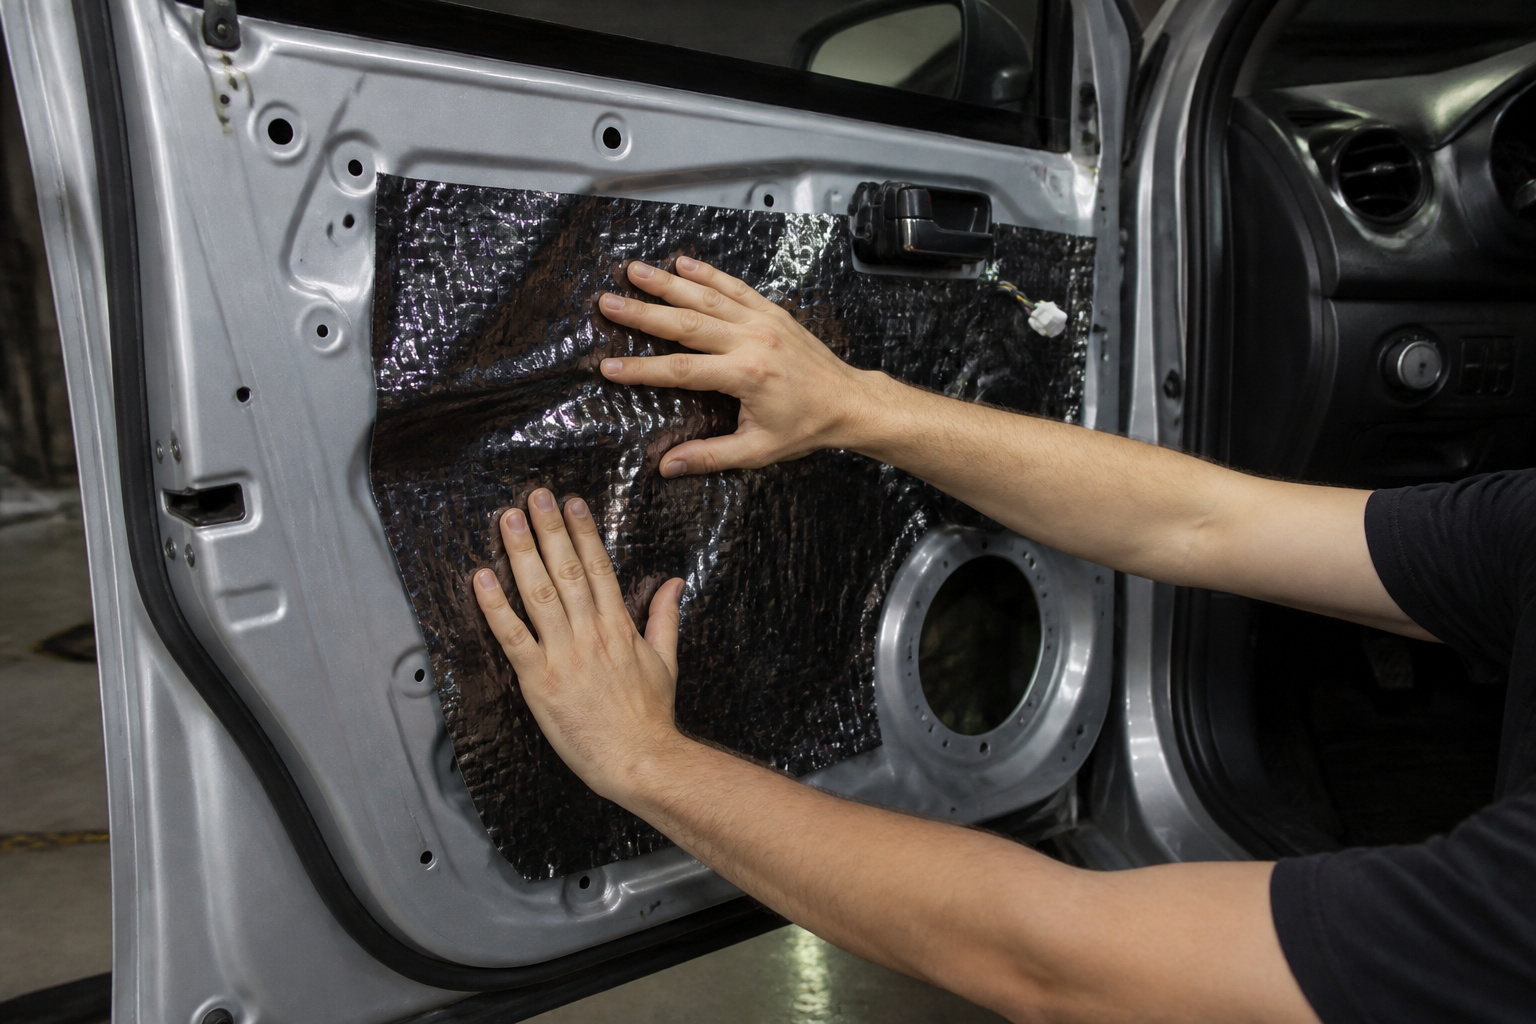
Butyl-based sound-deadening mats (Dynamat and Noico are common brand names) add mass and damping to the door’s metal skin, killing vibration instead of letting it ring like a drum.
Cut sheets to fit the largest flat areas of the inner door, press them on firmly, and smooth out any wrinkles or gaps so the material bonds completely. Aim to cover at least 60% of the surface, focusing on the outer door skin and the structural brace running through the middle. That’s where most of the resonance originates.
Recommended Products

80mil Car Sound Deadening Mat: 80mil(2mm) 3-layer sound deadening material for cars blocks noise effectively. 8-wire aluminum foil reflects heat while butyl rubber absorbs vibrations. High-strength adhesive ensures permanent bond. 36sqft covers doors/trunk. Waterproof & durable.Working temperature range: -50°F ~ 300°F.

Perfect Size for Targeted Noise Reduction – Ideal for reducing noise in specific areas like doors, trunk lids, or floorboards, this 10sqft car sound deadening mat is perfect for small DIY projects and effective noise control in targeted spots.

Very sticky self-adhesive 80 mil automotive butyl and foil sound deadening. It is user-friendly viable material suitable for DIY installation. KILMAT is really efficient and easy-to-install
Sealing and Adding Foam
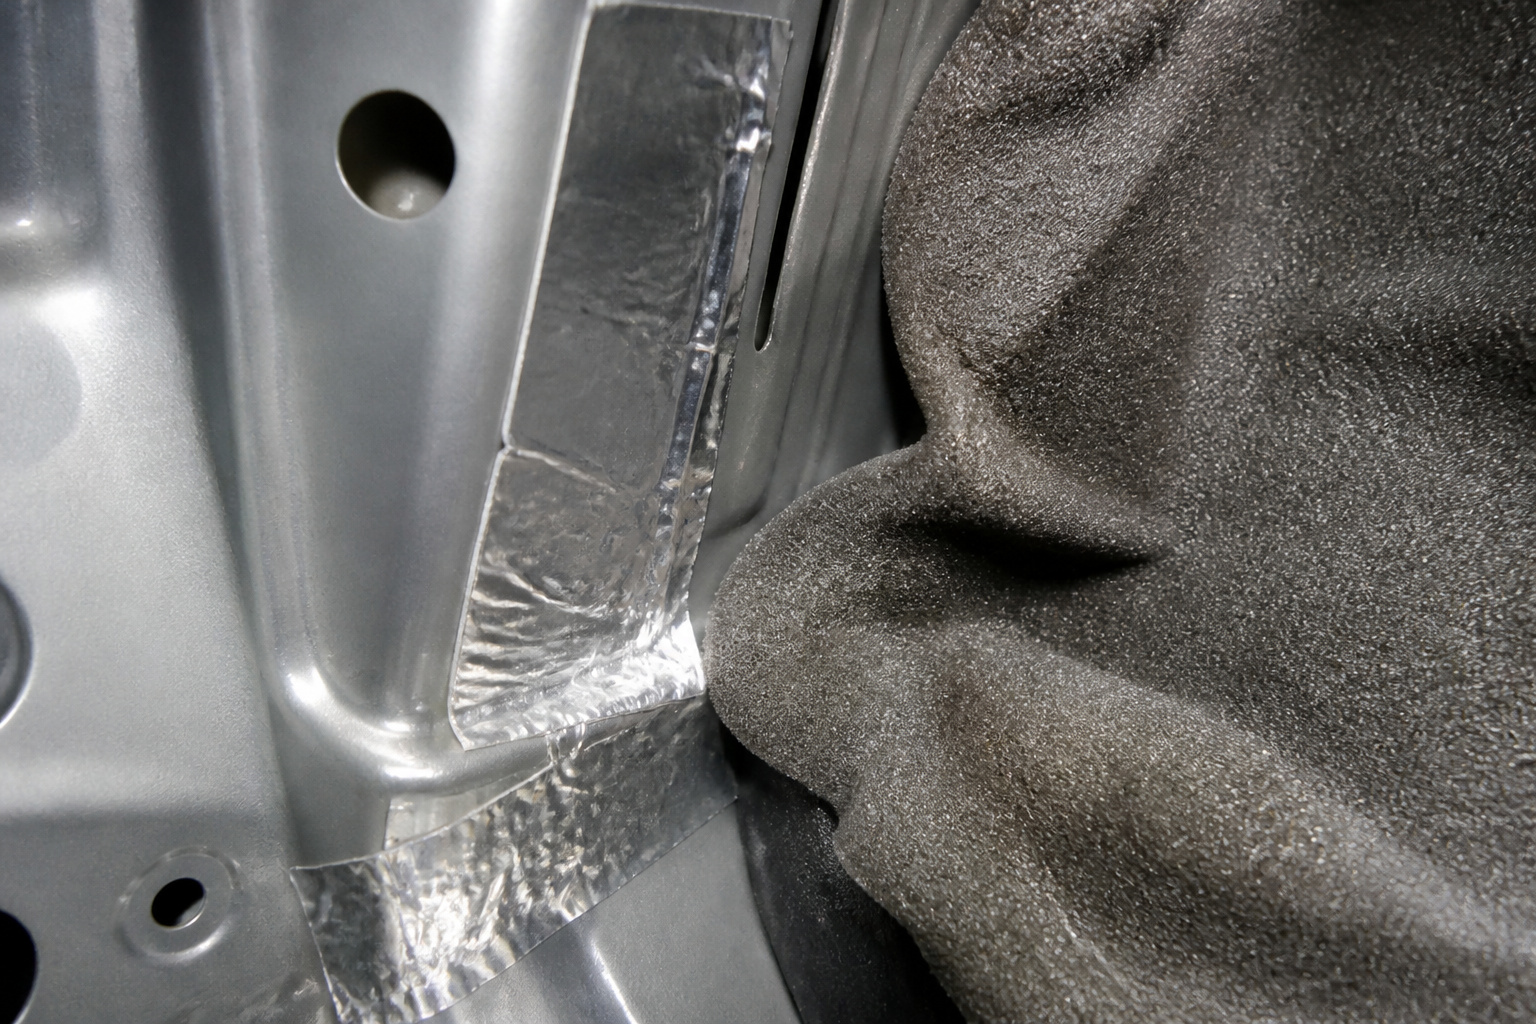
Once the deadener material is in place, seal any open seams with aluminum tape to close gaps where sound and air can leak through. Adding a layer of foam or closed-cell insulation over the deadener (pressed in snugly, not packed tight) traps residual sound and blocks it from sneaking through remaining gaps.
For an extra layer of quiet, install a thin foam or rubber barrier behind the door panel itself to stop panel shakes and cloth flutter against the plastic trim.
Recommended Products

Car sound deadener (10-piece) for creating a quieter and more comfortable in-car experience
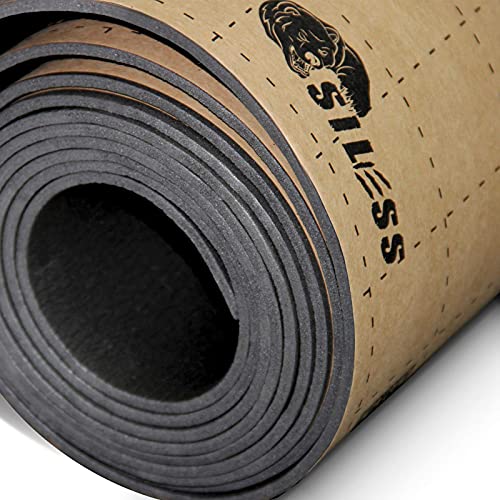
Closed Cell Foam: OIL and Waterproof LINER closed-cell polyethylene foam is the best for car, Siless with an adhesive layer 100% ensures optimum efficiency and thermal insulation that could be possibly gained. The price of 1 sqft of Siless Liner with similar characteristics is more then three times cheaper! Excellent quality for less money!!

[Premium 4mm Foam] This 3-layer sound deadener blocks up to 98% of radiant heat and reduces road noise. Featuring 4mm high-density closed-cell foam with strong adhesive, it provides superior thermal insulation for hoods, floors, and doors. Easy to cut and install, it delivers a cooler, quieter ride for cars, trucks, and RVs.
Reassembling and Testing

Reattach the door panel, snap the clips back in, and reinstall the armrest. Close the door, and you should immediately notice a heavier, more solid “thud” instead of the tinny “ping” you started with.
Play music and listen for the difference: bass should sound tighter and vocals clearer with less road noise competing for attention. If you like the result, the same process works on the remaining doors, the rear deck, and the trunk for a cumulative effect.
Recommended Products

PURE BUTYL & ODORLESS: Made of high-purity natural butyl rubber with no asphalt fillers. This car sound deadening material stays odorless even in intense summer heat, keeping the cabin fresh while meeting professional damping standards.

【SOLID CONSTRUCTION】LUMITECO sound deadening noise roller craftes with a solid wooden handle and a heavy-duty metal roller, offering a balanced, comfortable grip and durable performance. The all-metal rotating wheel features a corrugated surface to prevent the drum from slipping, also outperforms rollers made of plastic, polyurethane or wood

Very sticky self-adhesive 80 mil automotive butyl and foil sound deadening! It is user-friendly viable material suitable for DIY installation. KILMAT is really efficient and easy-to-install.
Frequently Asked Questions
How long does sound deadening material last in car doors?
A properly installed butyl mat typically lasts ten years or more. Heat, cold, and moisture don’t degrade it much once it’s fully bonded to the metal, so it’s an install-once upgrade for most drivers.
Can I install sound deadening without removing the door panel?
It’s possible by working it through the speaker opening or window channel with a slim tool to press and smooth the material. It’s considerably trickier than removing the panel first. Full, even coverage is also harder to achieve.
Does sound deadening affect door speaker performance?
Yes, generally for the better. Stiffening the door panel reduces flex, which tightens bass and sharpens midrange by giving the speaker a more solid mounting surface to work against instead of a panel that flexes with each note.
Can I reuse sound deadening material after removal?
No. The adhesive doesn’t hold up well once it has peeled off, so reapplied material won’t bond properly or block noise effectively. Use fresh sheets for any area you’re redoing.